
It only took me five years of crocheting to finally attempt the classic, humble granny square.
Every so often when I tell family or friends that I’m into yarn crafts, they’ll respond, “Oh! I have a ton of yarn from my grandma/mother/aunt/failed experiment with knitting, do you want it?” And, of course, I always say yes. Who knows what mystery treasures might reside in a long-forgotten yarn stash?!
This quartet of baby yarns came to me in such a way from a friend’s sister-in-law. They had been sitting in my yarn bin for several years, waiting for the right project. It just so happens that I recently made myself a new rule: Whenever I start a new project with brand new yarn, I must also start a project with old yarn I’ve been neglecting for far too long. So the last time I bought new yarn, I grabbed these skeins out of my closet and resolved to learn how to make a granny square.
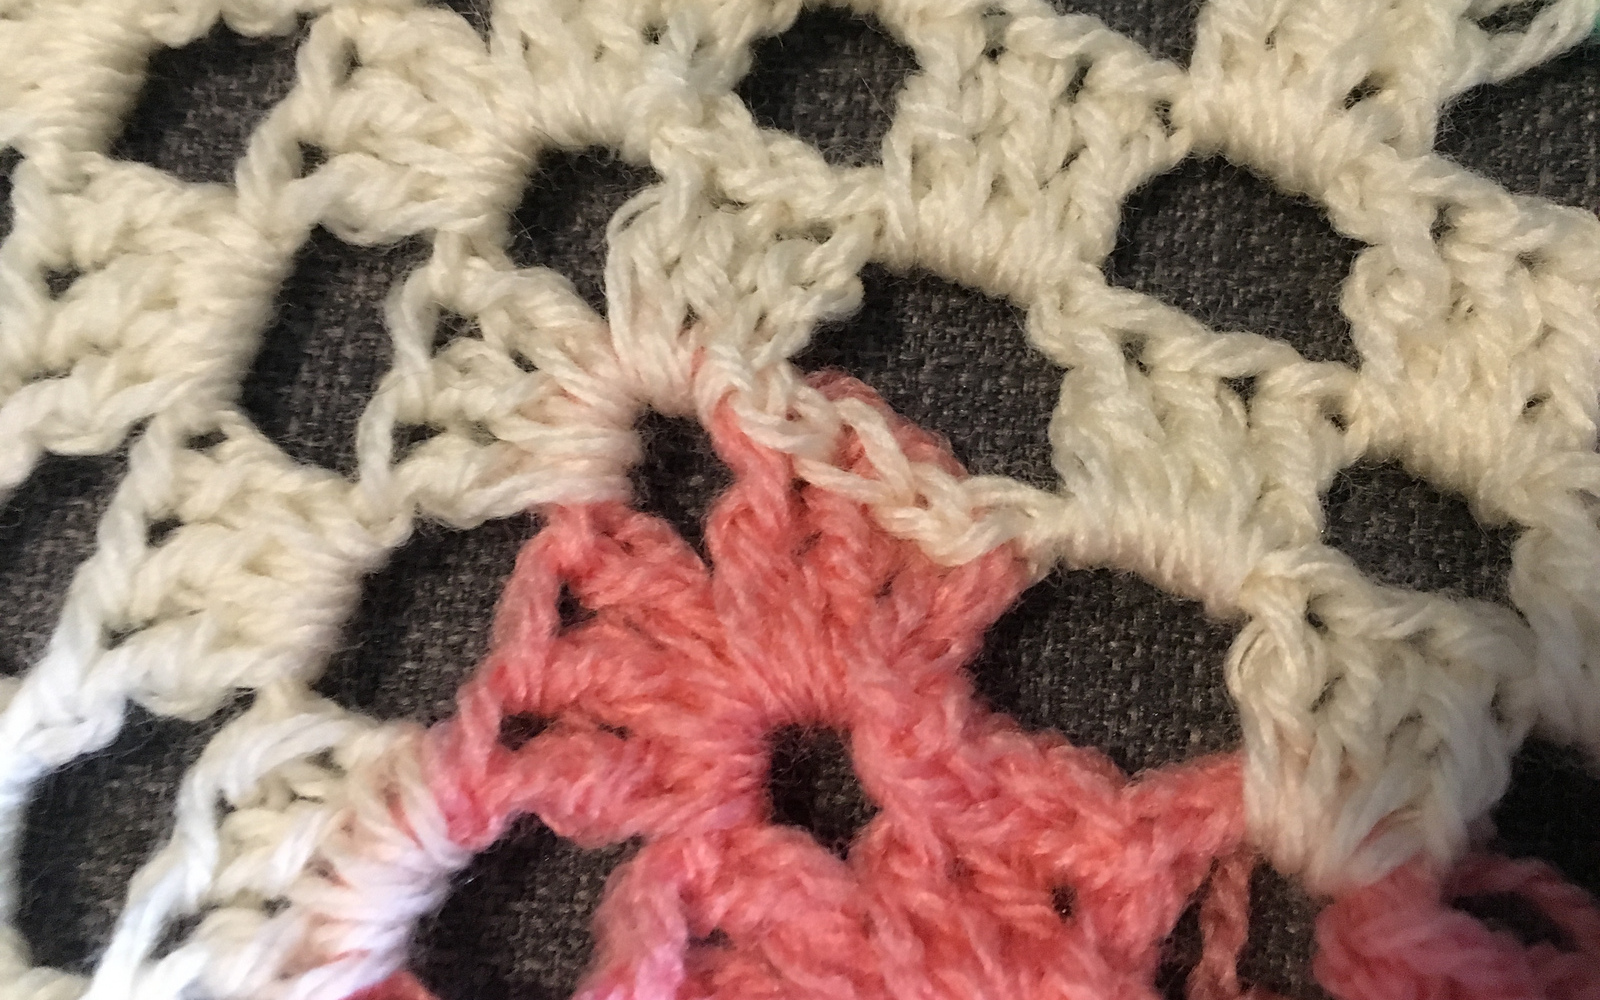
The technique is oh-so-simple: start with a ring, then [dc 3, ch 2] ad nauseam. Put two sets of dc 3 in each corner to maintain the square shape (separated by a ch 2), and connect the end of each round with a sl st then a ch 2 in place of the first dc. I also took the advice of an online tutorial to slip stitch my way back to the corner space at the end of each round. Do this after you slip stitch to the first stitch of the round and before you ch 2. This makes for a more consistent starting location for the next round of your granny square. Slip stitch pictured here, where I ended up with a slightly awkward (but convenient for this blog post) color change:
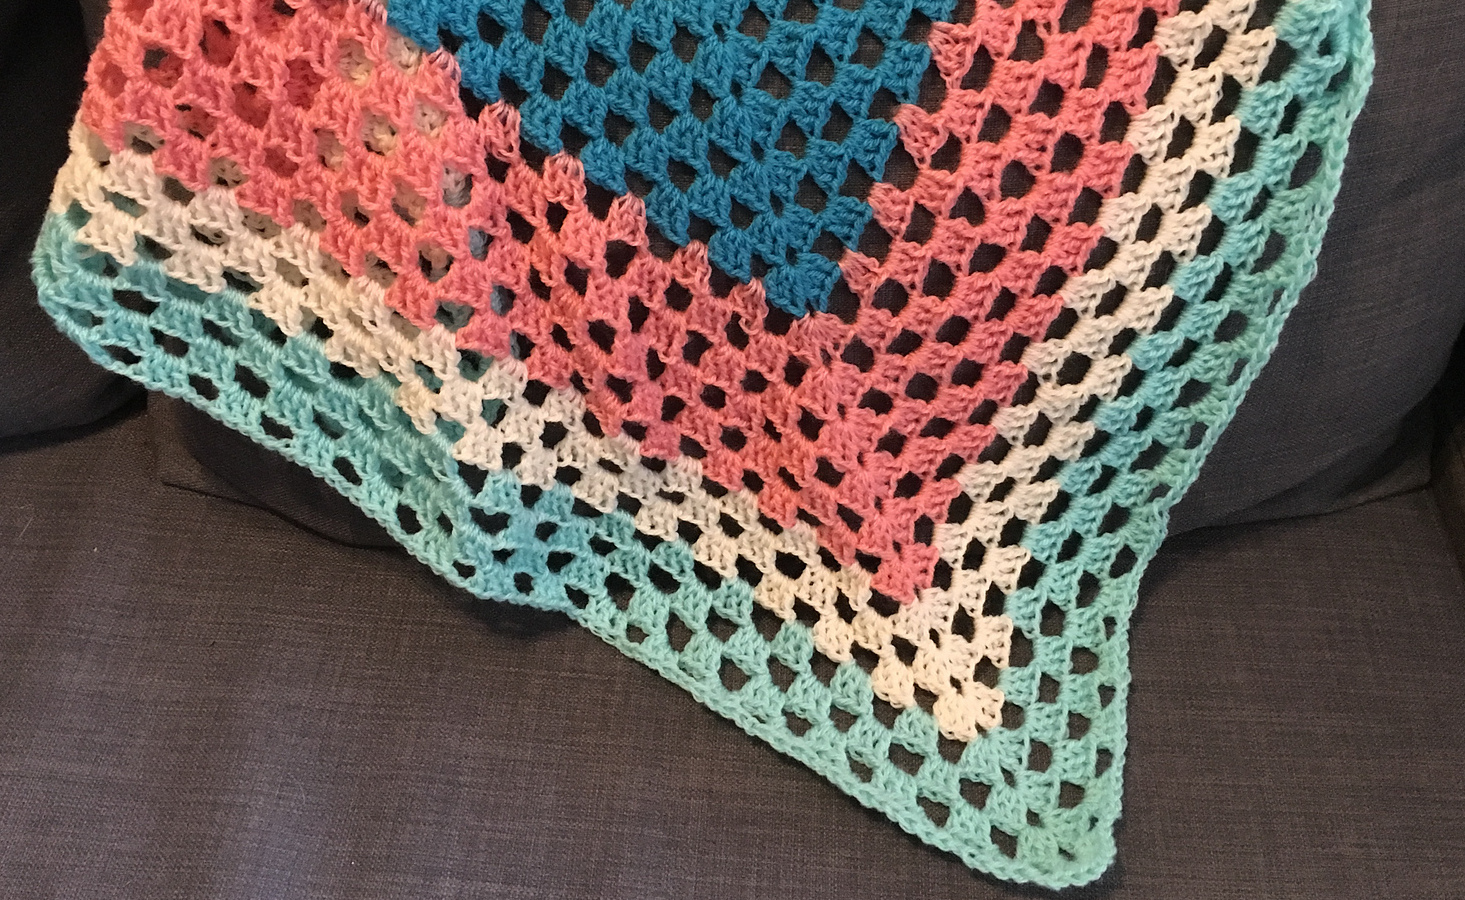
This time I just made one mega square, changing colors as I ran out of yarn. Next time I’ll attempt separate squares and joining them together. I have to say, this was by far the fastest blanket-type project I’ve ever done. It took me a grand total of 3 evenings watching Netflix to make a 3 foot wide baby blanket. AMAZING.
I also highly recommend the “use some old yarn too” rule if you have lots of yarn in your stash that’s been hanging out forever. It results in twice as many WIPs (Works in Progress), but I had about ten going before I implemented this rule anyway (cue sheepish grin). This way I’m excited about what I’m working on, so I’ve ended up finishing more projects.
Joining separate squares seems to have about a million possible and hotly debated techniques, so I haven’t quite decided which to use on my separate squares project. What’s your favorite? Join as you go? Whip stitch? Let me know in the comments!