
I’ve recently tried my hand at knitting a variety of projects as part of my goal to learn to knit in 2017. Let me share what I’ve learned with you!
There’s so much to learn when picking up a new skill that it’s hard to know where to start. For example, learning to crochet would have been much easier for me if I had learned to do the single crochet stitch correctly the first time around. I even mentioned that in my post about my first amigurumi project. My quest to learn to knit has led me to many ‘Eureka!’ moments, so here are the knitting tips & tricks I wish I knew when I started.
Start small.
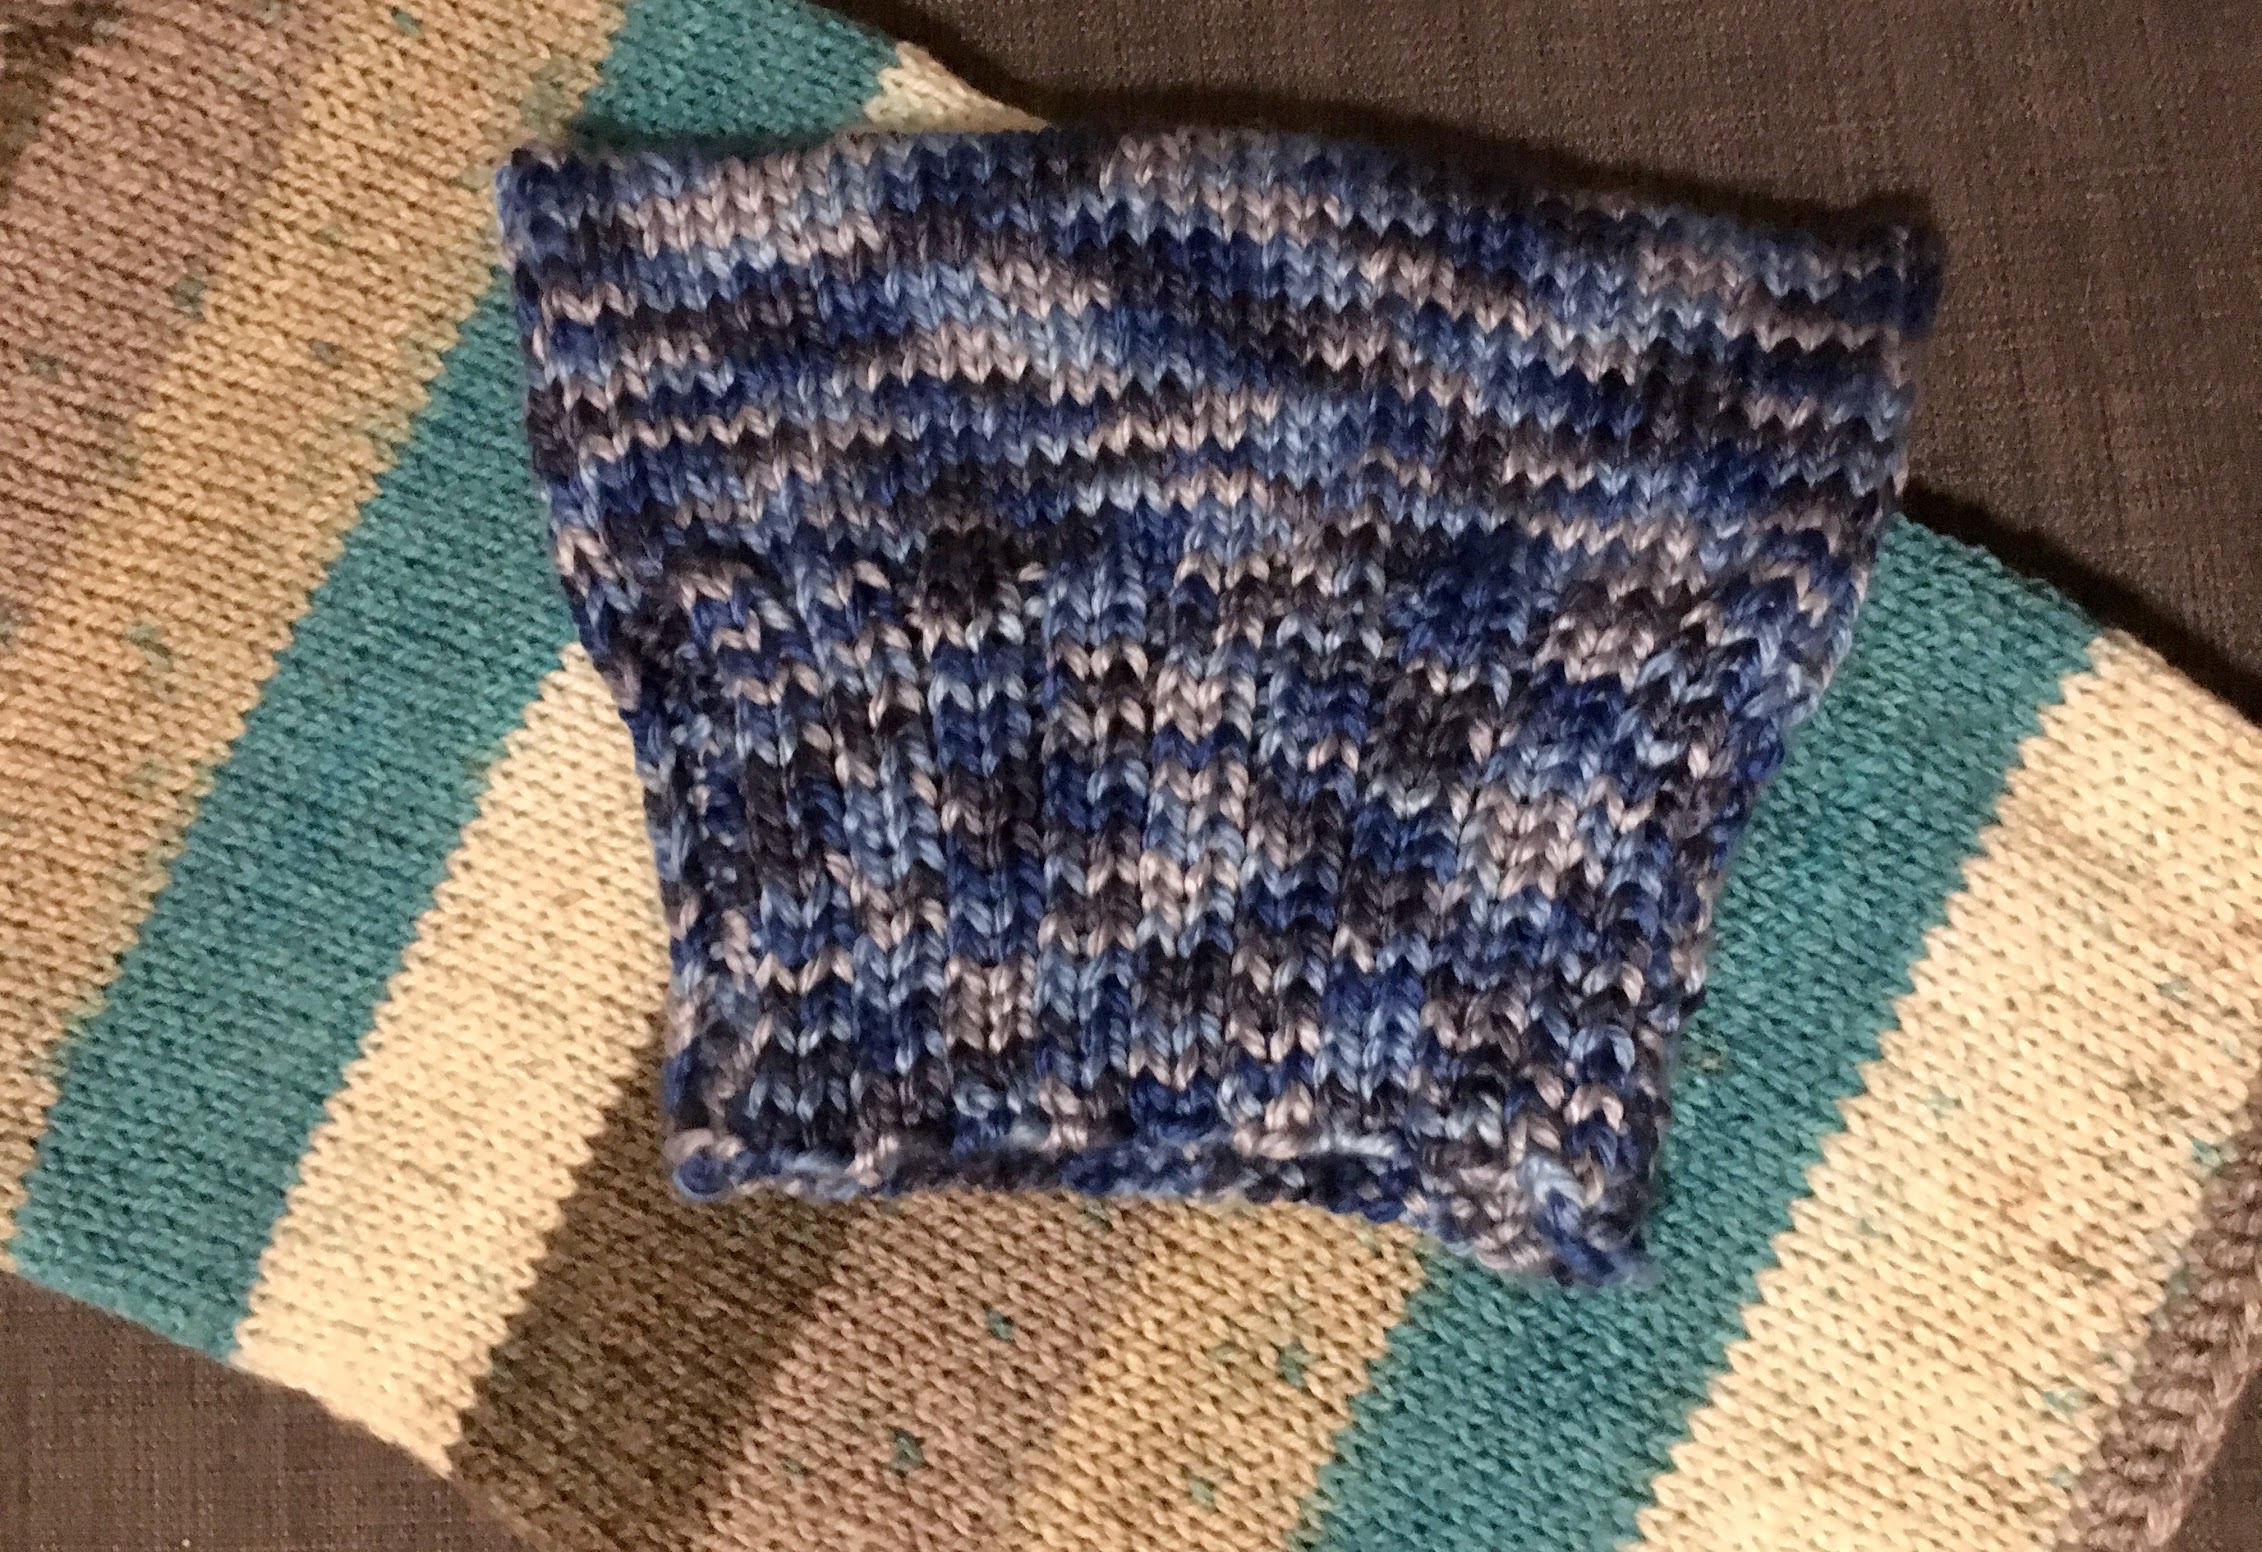
No, not a scarf. There is nothing more boring than a scarf when you’re excited to learn a new thing. It took me about 1 foot for my eyes to glaze over when I tried to learn knitting with a scarf. Personally, I recommend a hat. The women’s march cat-eared hat is worked flat and includes both stockinette and ribbing, so it’s a great project for beginners! I just made two, which you can see in the photo above and in this post.
Start light.
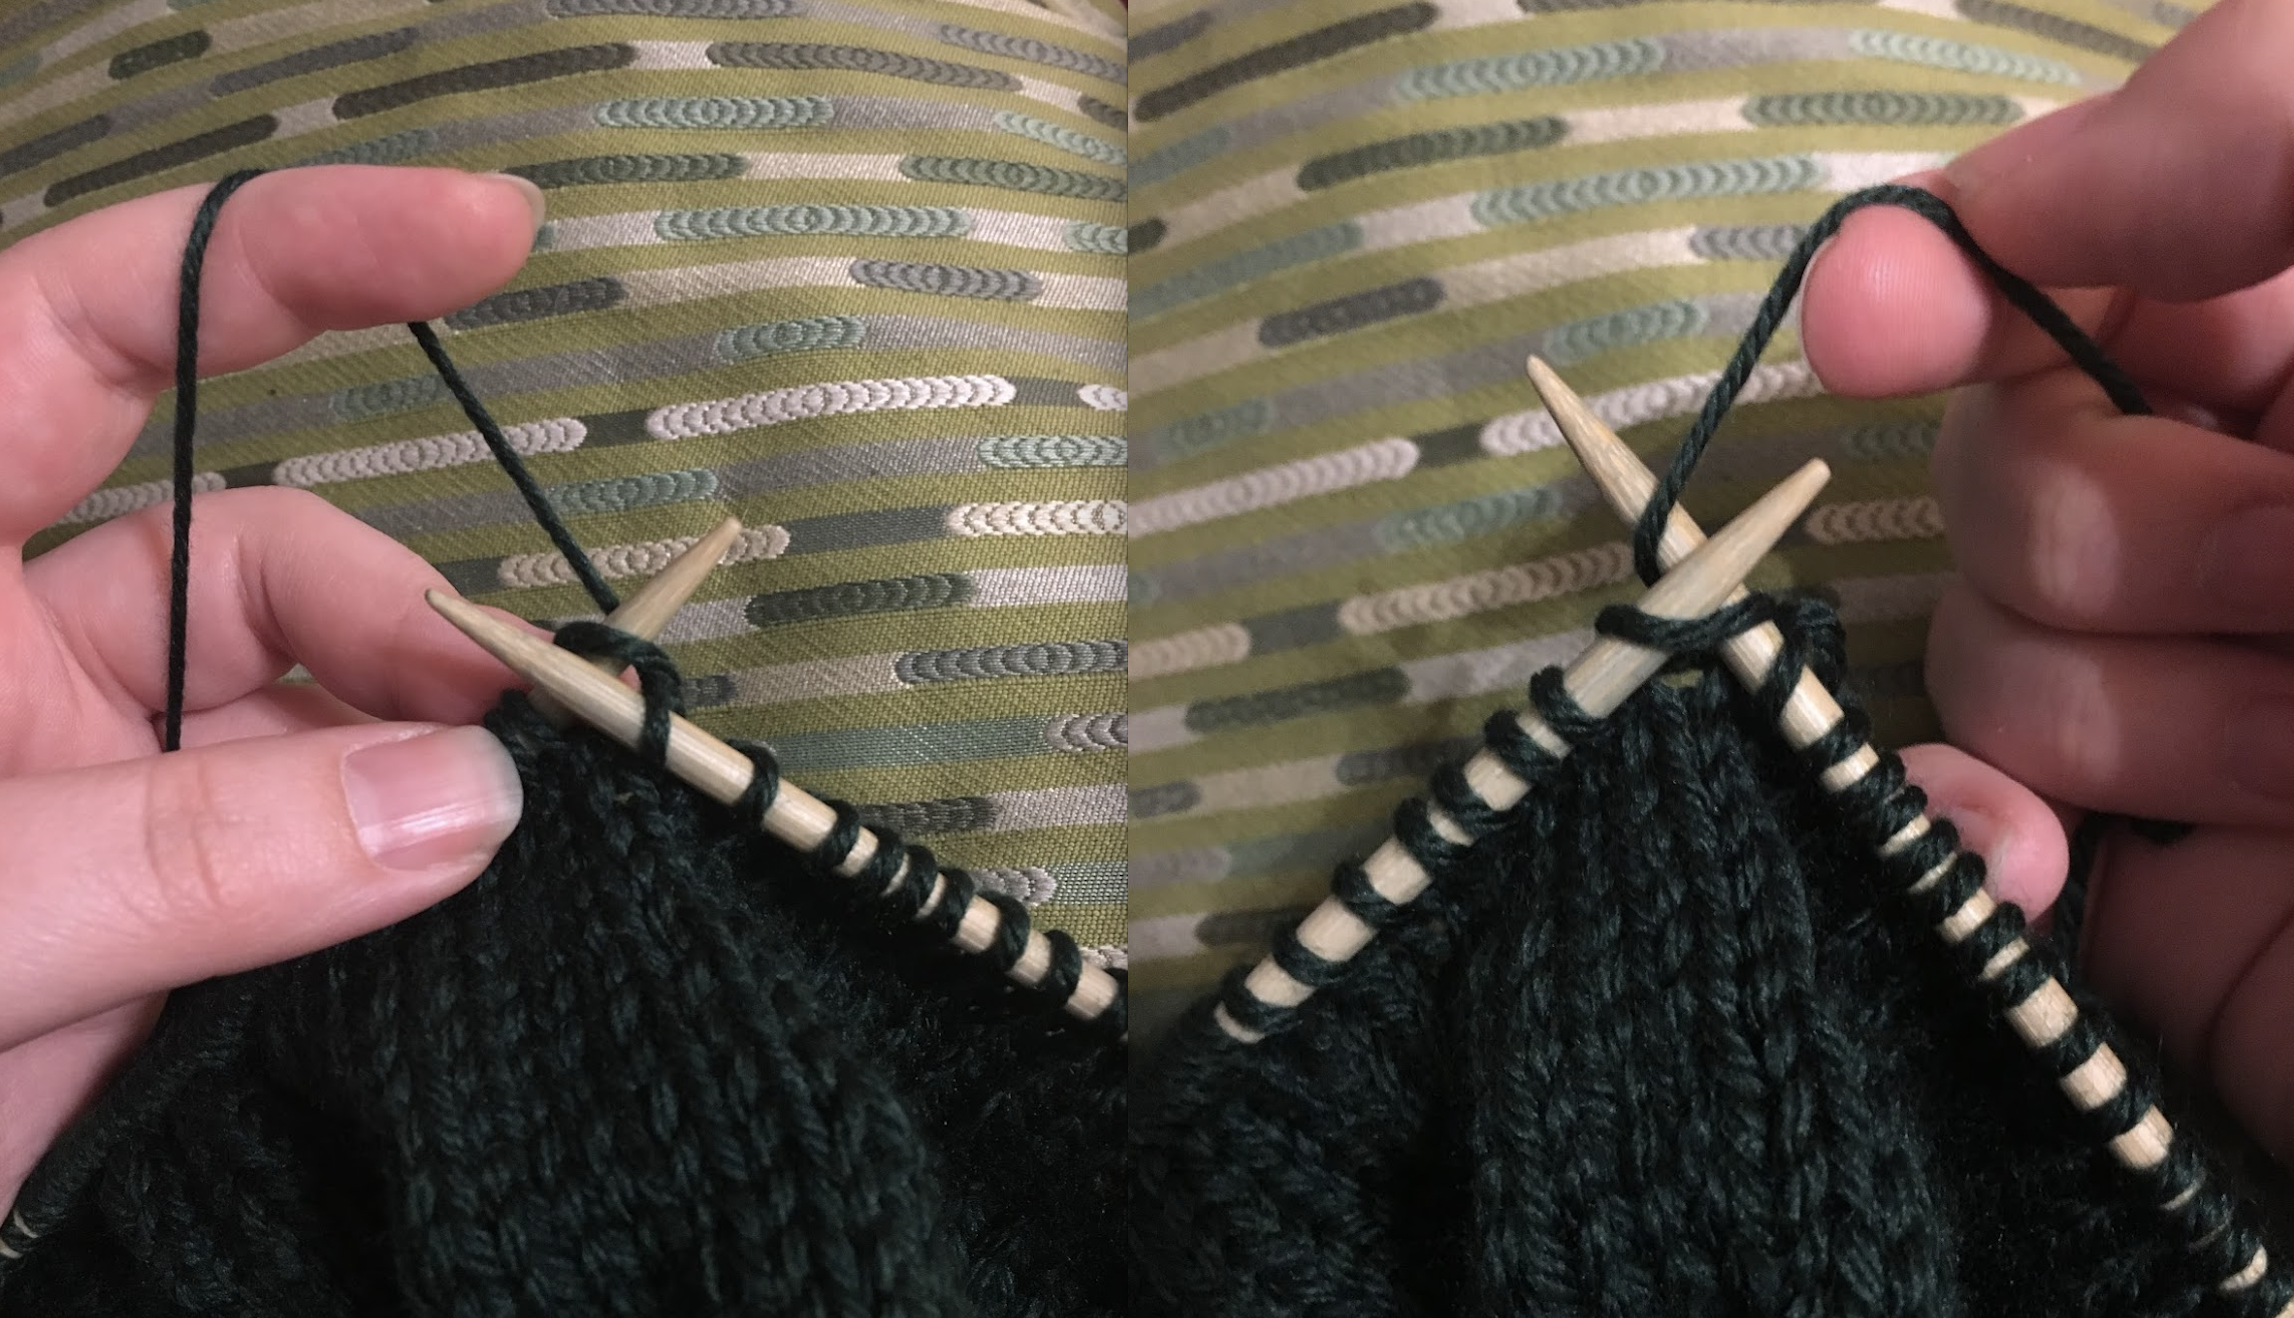
In order to get used to what knit stitches look like, you need to be able to see the stitches. If you start out with black, navy, or other dark-colored yarns, this will be incredibly hard. I recommend using a light colored (and preferably worsted weight or thicker) yarn for your first project. My first project was dark emerald green, and I am convinced that all the squinting during that project is solely responsible for my glasses prescription getting worse. 😀
Measure twice, cut once.
Or in this case: measure twice, knit once. I decided to make a set of Norwegian colorwork mittens as a Christmas present this year. I knit a whole mitten without checking my gauge once, and the mitten was 2 inches too short when finished. Oh, if only you could have seen my face when I excitedly tried it on… Now I’ll be re-knitting the first mitten along with still having to make the second one. Long story short: the recipient is getting something else this year. It turns out that gauge matters!
Practice both Continental and English style knitting.
Contrary to my first piece of advice, I chose a sweater as my first project to learn to knit. Oops. When I hit the torso section that was just ~100 rows of stockinette, I forced myself through it kicking and screaming. I just get bored with that much repetition! One thing that made a HUGE difference was learning to knit continental style. This is where you hold the yarn in your left hand and pick it up with the needle. For stockinette in the round, it was about 5 times faster. I literally had a friend time me. I am not kidding. 5 times! Both methods have their uses, so it’s worthwhile to try them both and to get comfortable with holding the yarn in either hand. It’s also a game changer for fair isle knitting, so you can hold one color in each hand and knit with both at once.
Learn your needle types.
Just like Continental and English style knitting both have their uses, the different types of needles all have their uses. Straight needles are good for scarves, hats that are worked flat, washclothes, and other such small projects. Circulars are great for sweaters, hats in the round, shawls, and other larger projects. Double-pointed needles reign supreme when it comes to socks and mittens, although more advanced knitters often swear by the magic loop method with large circular needles for these types of projects. Depending on what kind of things you want to make, you might just use one of these types, or you may need all three. It took me a while to get comfortable with circulars and DPNs, so I recommend familiarizing yourself with all three if you can.
With colorwork, follow all of the color-changing advice you find.
The number one tip I encountered for colorwork was to keep your floats loose. When you knit with multiple colors at the same time, one is “floating” behind the other, and if this “float” is too tight, the whole piece will be too tight and won’t stretch the way knitting should. On the other hand, for intarsia, where you knit in blocks of one color (rather than multiple at the same time), my number one tip is to remember to twist the 2 yarn colors where you switch. Since you’re knitting each color in isolation, if you don’t connect the colors at the edges you’re literally knitting multiple pieces instead of one cohesive piece. I found this one out the hard way and had to go back and sew together little color blocks for a pillow cover, when it should have been one solid square.
Get comfortable with tinking.
“Tink” is the goofy term for undoing your knitting, or knitting backwards (get it? Knit? Tink?) to fix a mistake. You can find videos on Youtube that will show you how to do this. What you’re doing is carefully undoing your previous stitches to get back to wherever you messed up. Learning to pick up dropped stitches is also a worthwhile skill, but one I personally haven’t accomplished yet. Another problem-solving trick I’ve read about a lot but haven’t tried yet is using a lifeline–you thread a spare scrap of yarn through a row so that if you had to rip back your work, you don’t have to undo it completely. Being able to fix your mistakes without starting over will make you a much more fearless knitter and will help you learn new things faster, since you won’t have to go back and redo things as often.
Learn multiple increase and decrease types.
In knitting, increases and decreases typically lean either to the left or the right. Some are more visible than others. It’s worth it to try and learn several options so that when a pattern calls for a specific type, you know which one to use. You’ll also be able to have symmetrical increases and decreases for things like sweater yokes and glove thumb gussets. Using complementary increases and decreases on either side of a yoke or gusset that lean opposite ways makes for a much neater finished product.
There is a right way to sew things together.
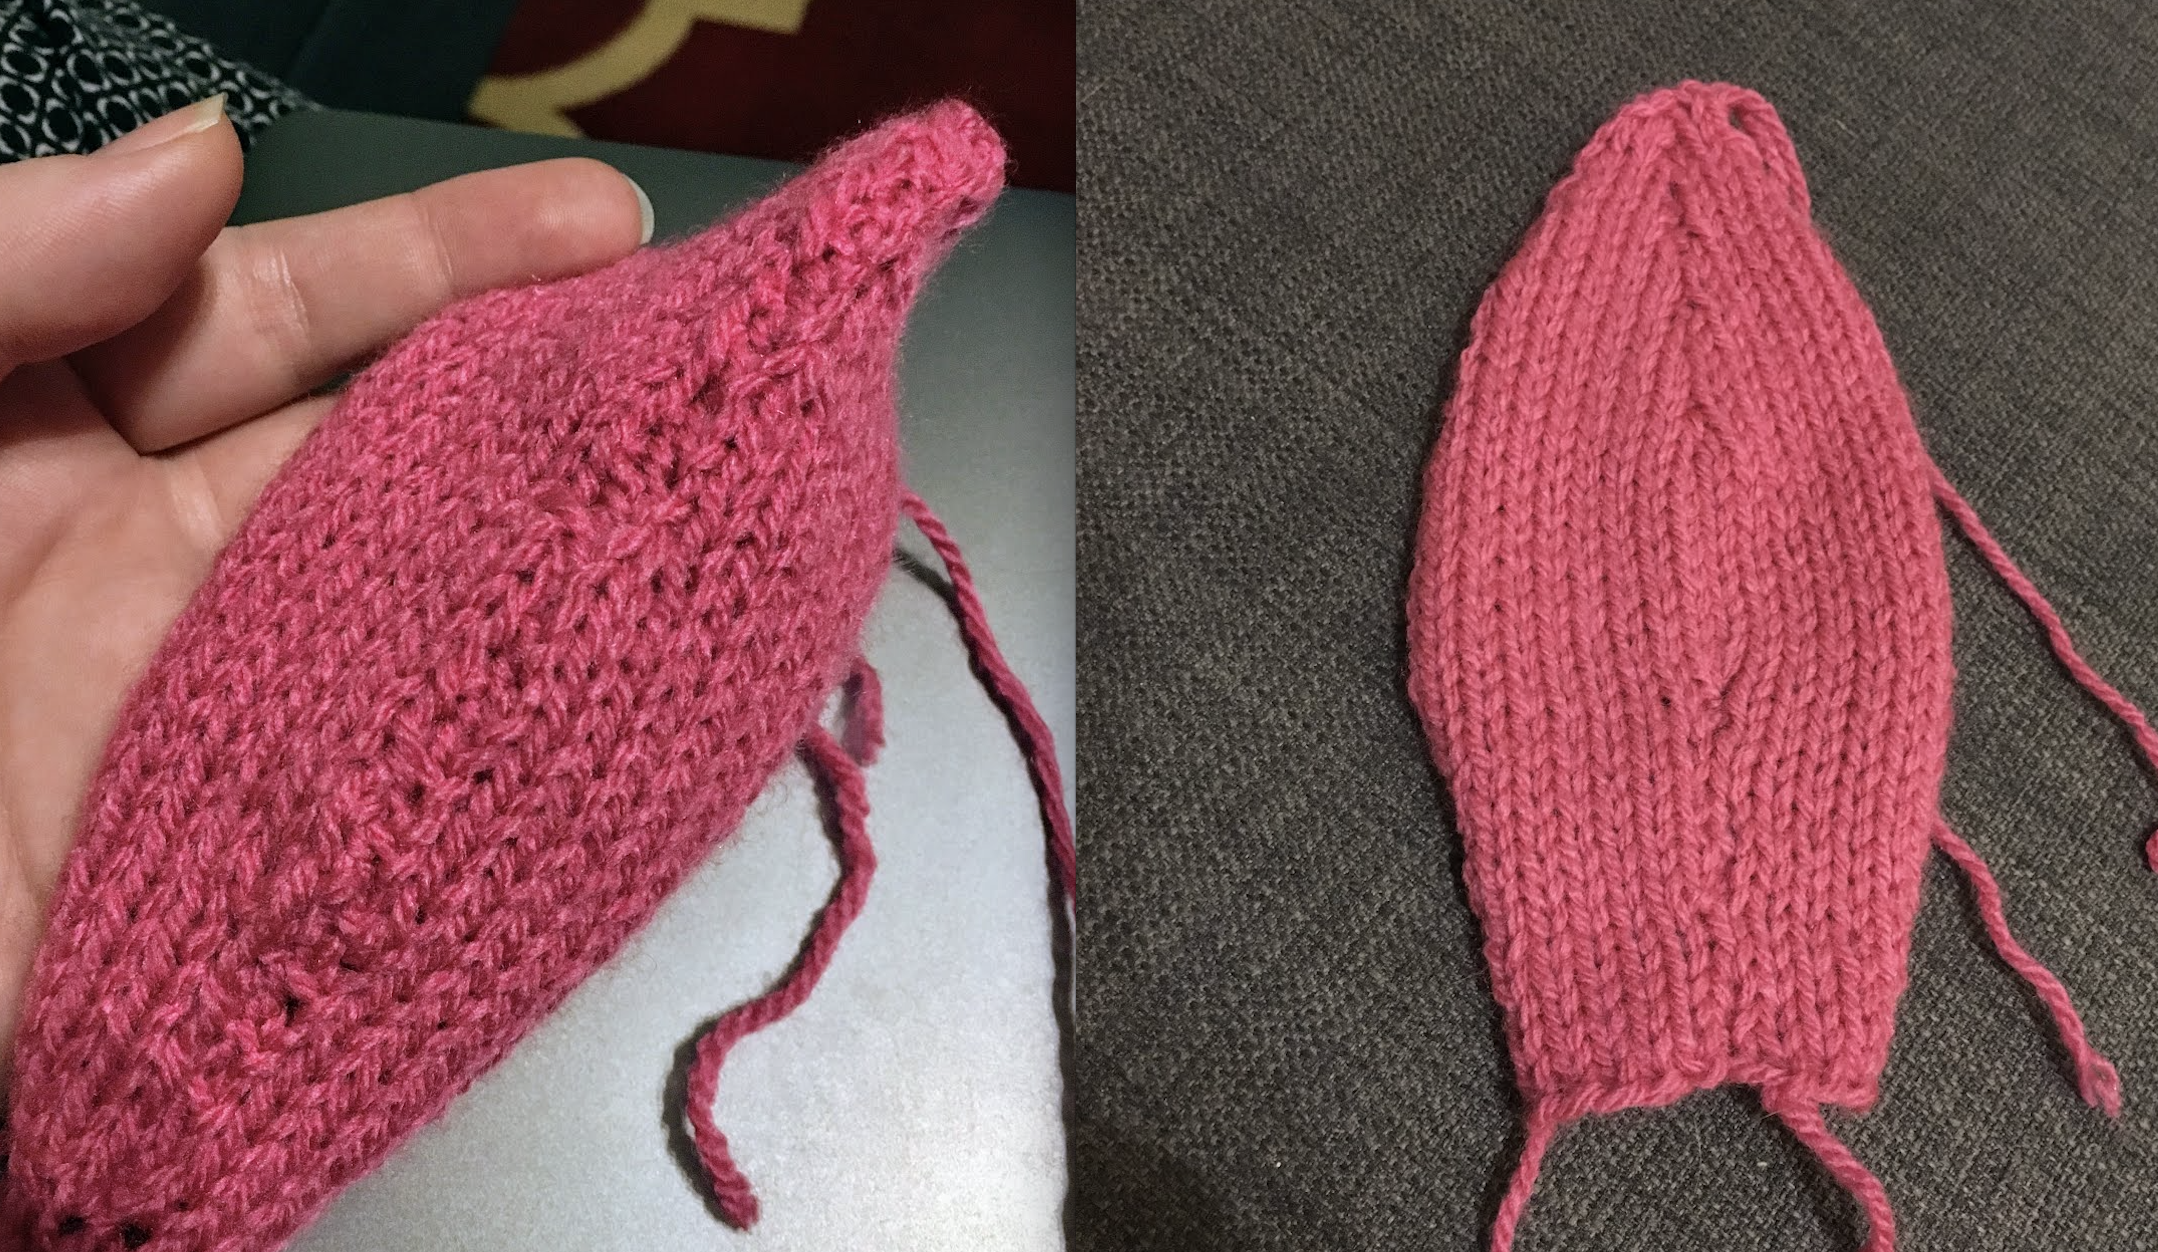
I have photographic evidence for this one. Having made many amigurumi in the past, I assumed (wrongly) that I would be able to sew together pieces of knitting neatly on my first try. As you can see below, that was not the case. After waffling on whether to undo this seam for hours, I ripped it out and slunk over to Youtube. There, I found plenty of advice on how to make neat seams in knitting and I redid this seam to much better effect. You can see that the seam on the right is MUCH neater than the one on the left. Even for the non-knitting steps in a project, someone else before you has likely found the best way to do it, and it’s worthwhile to try and find out if that’s the case.
If something seems too difficult, there’s probably a better way.
Along those lines, anything that’s painfully difficult for you was probably painfully difficult for someone else before you. Consider the i-cord. The name i-cord stands for “idiot cord” since the technique is so simple even an idiot could do it. This is a perfect example of where someone (in this case Elizabeth Zimmermann) thought knitting a small tube was too finicky and difficult and so she made up a new way to do it: using double pointed needles and simply sliding the knitting from one end to the other so the tail connects from the last stitch to the first as you go, instead of having to sew a flat strip into a tube. Always, always turn to your community resources when something seems too hard. Chances are there is a better way to do it.
When in doubt, Google it.
See above. Folks have been knitting for thousands of years, and a lot of common techniques have been perfected in that time. Most of that knowledge exists in some form or another on the internet. I like to turn to Google (or Ravelry) every time I’m about to try something new. I certainly wouldn’t have learned the tubular cast on without Youtube. And my inspiration for trying fair isle was a community lesson shared in a group on Ravelry that taught stranded knitting step by step. The internet maker community is overflowing with knowledge, and it will serve you well to take in as much of it as you can.

It really helped when you talked about knitting needles and how they come in different types! Recently, my sister said she’s interested in learning how to knit a few clothing pieces. My sister wants to know more about knitting tools and what she needs to get started, so I’ll be sure to share your tips with her! Thanks for the advice on how you should learn all about knitting needles first!
Thank you so much! I’m glad the tips were helpful, and I wish your sister the best with her knitting adventures. 🙂