
Is it one sitting pup, or one-sitting pup? Both! You can make one little seated puppy in one sitting!
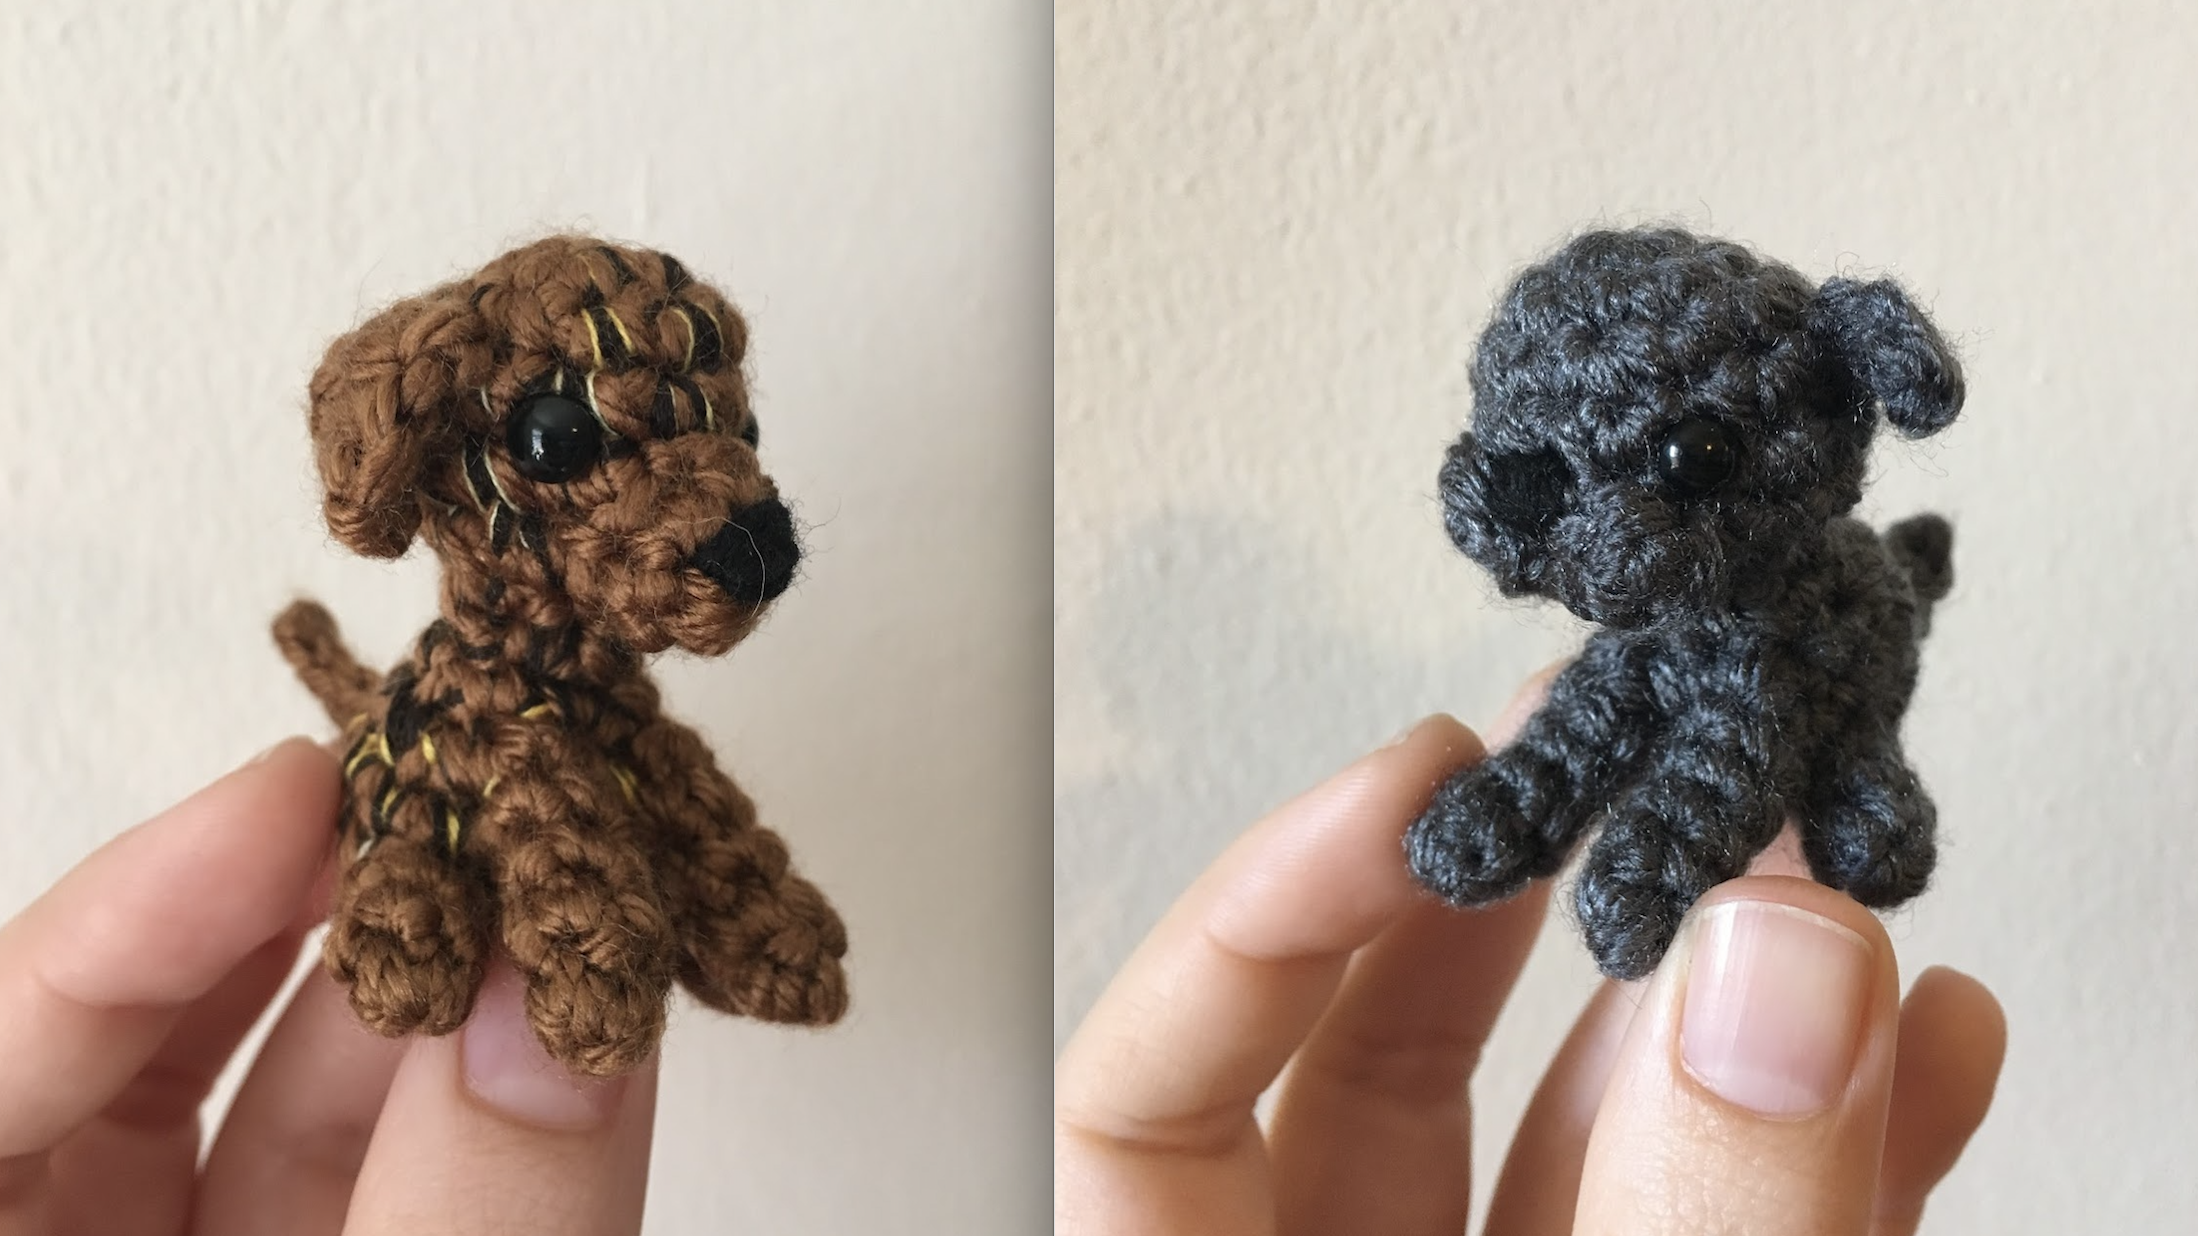
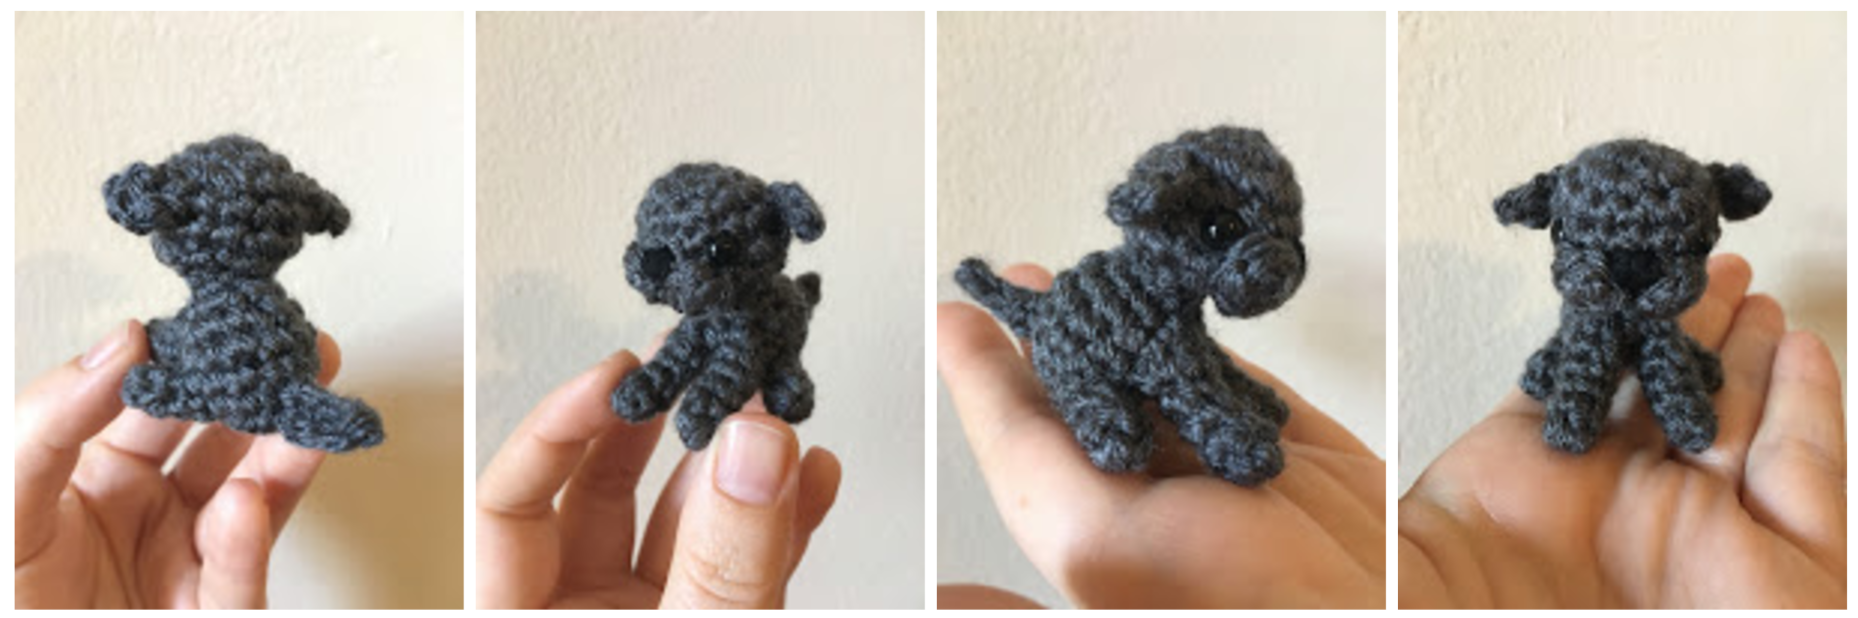
These palm-sized pooches take only a small amount of yarn and one or two hours to make. They’re easily customizable by changing the color, snout, and ears. Below you’ll find the basic recipe for a one-sitting pup, along with my modifications to make a Plott Hound or Bulldog. I chose those 2 breeds specifically because the original duo was a present for a new friend, and they were made to look like her 2 sweet and beautiful dogs. Let’s get straight into the pattern!
You’ll need a small amount of worsted weight yarn and a 3.5mm hook, but you can really use any size hook and thickness of yarn you like, provided the stitches are close enough together so that the stuffing can’t be seen through them.
Head
R1: sc 6 in magic ring (6)
R2: 2 sc in each st around (12)
R3: (2 sc in next st, sc 3) 3x (15)
R4-5: sc in each st around (15)
R6: (invdec, sc 3) 3x (12)
R7: invdec around (6)
Fasten off. Stuff the head firmly, then sew up the hole and hide yarn end. If you’re using safety eyes (I used 6mm safety eyes for the 2 shown), then attach them before stuffing. Or, you can embroider eyes on later.
Body
R1: sc 6 in magic ring (6)
R2: 2 sc in each st around (12)
R3-5: sc around (12)
R6: (invdec, sc 2) 3x (9)
R7: (invdec, sc 1) 3x (6)
Fasten off. Stuff the body firmly, then sew the open end to the head. I recommend angling the body slightly so that when you attach the legs it’s in a seated position.
Front Legs (make 2)
R1: sc 4 in magic ring (4)
R2-5: sc around (4)
Fasten off, stuff lightly, and attach to the front of the body below the head.
Back Legs (make 2)
R1: sc 4 in magic ring (4)
R2-3: sc around (4)
Fasten off, stuff lightly, and attach to the bottom of the body on either side.
Tail
Ch. 2. Sc in the 2nd chain. Ch. 3, turn, then sl st in the sc that you made. Fasten off and sew the tail to the back of the body.
Bulldog
Cheeks (make 2)
Sc 4 in magic ring (4) then sl st to the first st. Fasten off. Sew the 2 circles next to each other on the front of the face, then embroider a nose in between them at the top. This creates the “jowls” or a smooshed-looking face, such as for a pug, bulldog, or mastiff.
Ears (make 2)
Ch. 2. Sc in the 2nd ch. from the hook. Ch. 3, turn, sl st in the sc from the last row. Fasten off. Sew the ears to either side of the head. Or, sew them to the top of the head for dog breeds with upright ears!
Plott Hound
Snout
R1: sc 6 in magic ring (6)
R2: sc around (6)
Fasten off. Sew the snout to the front of the face and embroider a nose on the tip.
Ears (make 2)
Ch. 2. 2 sc in the 2nd ch. from the hook. Ch. 1, turn, sc 2. Ch. 3, turn, sl st in the 2nd sc from the last row. Fasten off. Sew the ears to either side of the head.
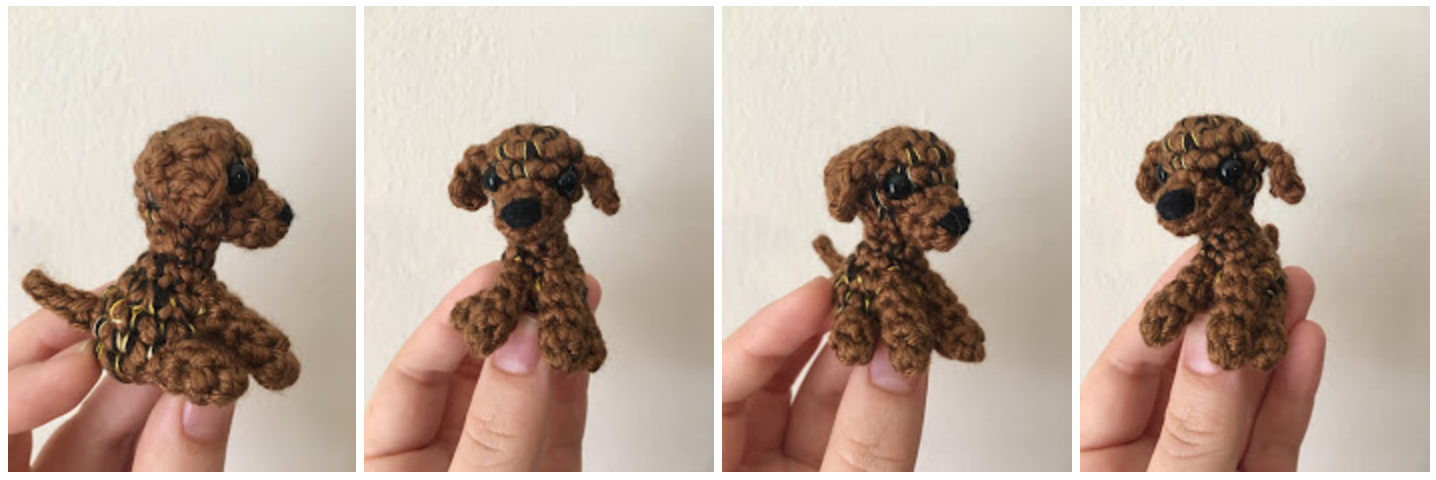
The ears and snout I used for the Plott Hound could be used to make a variety of different dog breeds, including: labs, retrievers, hounds, setters, and many more. To get the distinctive Plott Hound brindle coloring, I held strands of dark brown and gold embroidery thread alongside the yarn as I crocheted the head and body.
Modifications
You could combine the brindle coloring technique with the bulldog features to make a brindle bulldog or mastiff. Or you could get more advanced and add color changes to make a border collie or beagle. The possibilities are endless! What kind of dog will you make?
Thank you for this adorable pattern !!!! Genius !